Tag Archives: playing

Proper Playing Position Is Key to Comfort and Injury Prevention in Strings

by Claire Stefani

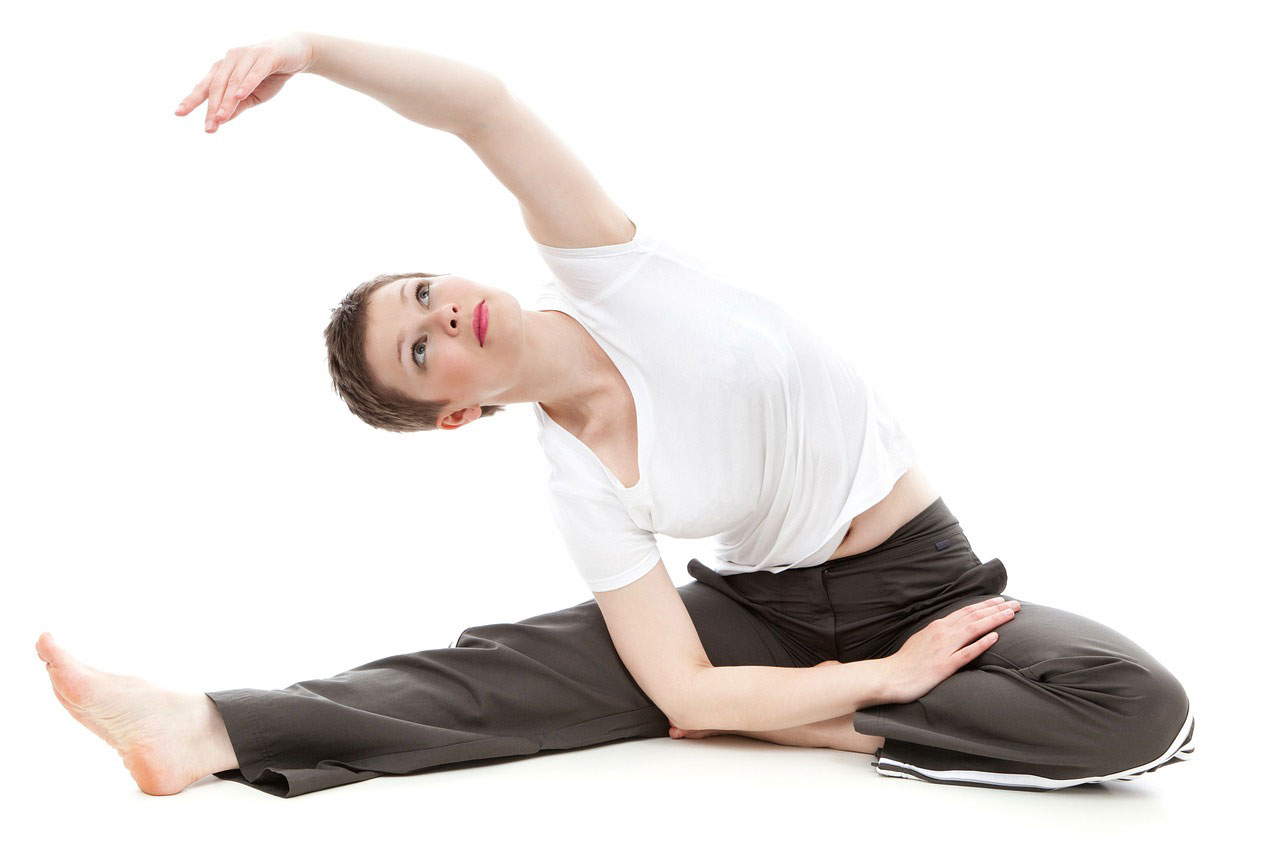
Playing any instrument means moving a lot. Musicians make a number of physical adjustments to play, often at the expense of optimal body mechanics. Given the asymmetric position of playing a violin or viola, properly fitted ergonomic solutions are critical to a healthy body and optimized posture. It is important to find the appropriate equipment for your body and periodically check that it’s still the best solution for you. Here are some tips from a chinrest fitting expert. 

Head Balance—Keeping the head balanced and free to move is critical. Chinrest height should permit the head to rest in a neutral position at the low point of nodding “yes,” but free to move laterally (shaking the head “no”). Some chinrests provide ergonomic benefits such as additional height or left/right tilt. Some custom models allow musicians to lower their instrument and rest it partly on the collarbone in a neutral head position.

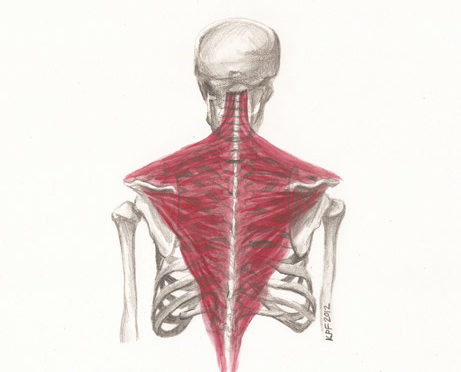
Arm Balance—If not supported by the torso muscles, arms will hang and pull the instrument downward. If a musician is not keenly aware of back and shoulder muscles, especially in the development of arm support, any attempt to adjust the chin/shoulder rest setup to counterbalance this downward weight will only put more stress on the head and left shoulder. Also, work at allowing the shoulder blade to immediately follow the humerus while shifting and bowing—similar to how the femur swings freely from the hip joint when walking.

Instrument Position—Up or down, in or out, is an individual preference. The chinrests or shoulder rests should not dictate instrument position. By allowing the instrument to lean on the collarbone, instead of only on the left shoulder, you are less likely to clench, and will have more freedom in the left shoulder, as well as in the bow arm.

Shoulder Rests—Once the head is balanced, muscular work is redistributed throughout the torso to better support arm weight, and the left shoulder is relieved from its static role, you can determine what equipment, if any, to use under the instrument. A shoulder rest can result in overall stiffening of the entire left shoulder, but playing without one can lead to distress throughout the upper body. Changes may need to be progressive. Keep in mind:

  • If a shoulder rest is too squishy, it may encourage clenching.
  • Models designed to lean just below the contour of the collarbone prevent downward pressure over the left shoulder.
  • Anti-slip surfaces may add to comfort, especially when shifting to and from high positions.

Seating—Much of your playing is likely done sitting. Wedges, pads, and stools mounted on a convex base allow a slight pelvic tilt resulting in psoas muscle release. This pelvic tilt will improve awareness of balance around your lumbar core and address lower back pain linked to postural issues or ill-fitted chinrest/shoulder rest setups.

Listen to Your Body—Pain or fatigue often come from muscle tension. It is important to identify any postural imbalance in playing position (versus neutral position)—leading muscles to sustain a static position, instead of contributing to movement. Say “No!” to the mantra “no pain, no gain.” Pain only leads to injury!

Claire Stefani is a fitter for the Frisch and Denig chinrest line, she has helped more than 400 musicians with their setup. She is founder of Volute Service International and amateur chamber music violist and violinist in New York City, an affiliate Andover trainee, and an active member of the Performing Arts Medicine Association.

Stretches That Every Musician Should Do Before Playing

Stretches That Every Musician Should Do Before Playing

by Janet Horvath, author of Playing (Less) Hurt: An Injury Prevention Guide for Musicians available at musicdispatch.com

Stretches That Every Musician Should Do Before PlayingEditor’s Note: In this article Janet Horvath suggests some stretches she devised to help musicians alleviate body stress. Always check with a physician before trying stretches, especially if you have an injury. Always stop any movement that causes pain.

When I was a young student I was criticized for moving too much when I played. “Don’t beat your foot! Don’t wiggle! It’s too distracting,” said my teachers. Unfortunately, these mantras were more important than just limiting comfort and self-expression. Although playing music is expressive and creative, we sought to quell the tendency to move and flow with the music. We were admonished to never “stick out.” As a result, we often sit like statues.

Studies today indicate that humans are born to move. Being static, still, and motionless is detrimental to our health. Static effort, or holding a position, is also much more strenuous on the body. Muscles tighten, blood flow is constricted, oxygen is not replenished, and waste products are not flushed out. Static positions make us tire sooner, and then we hurt. On the other hand, we can engage in a dynamic movement for a long time because blood is replenished with fresh oxygen.

There are unobtrusive ways to reduce tension build up and give our bodies mini breaks. I have devised a series of moves I call Onstage Tricks™ to alleviate tension even while performing. The essential guiding factor is to do the opposite motion of the positions we are required to hold while we play.

Sitting properly is the first step. Make sure that you are sitting in the optimum position for your height and instrument. Your chair should be high enough so that your knees are lower than your hips. If you are diminutive, sit forward so your feet don’t dangle. Your weight should be forward with a slight lumbar curve in your spine and feet flat on the ground. Keep your shoulders down and facing forward. Avoid turning or twisting your torso, leaning left or right.

Starting with those targeting the top of the body, try some of the following moves during practice or performance, or whenever you have a few bars of rest. These exercises are effective even if you only have time to do them once. However, if you are able to do them more than once, it’s all the better.

The following are stretches that every musician should do before playing

For the neck:

  • Keep your head erect and tuck in your chin gently. This is a very small movement.
  • Tuck your chin as above. Keeping your shoulders relaxed and down, slowly turn your head to the right and look over your right shoulder; return to looking forward. Repeat, turning your head left, looking over your left shoulder.
  • Again, start with a chin tuck. With shoulders relaxed and down, slowly tilt your head so the right ear is over the right shoulder. Return to neutral. Repeat on the left side.

For shoulders and pectorals:

  • Do one big shoulder shrug bringing the shoulders toward the ears, while taking a deep breath. Relax, release your shoulders, and breathe out.
  • Do one big shoulder circle. Bring your shoulders forward, then up toward your ears, then back opening your chest, and relax bringing your shoulders to normal. Repeat, reversing the direction of the circle.
  • While keeping your shoulders down, squeeze your shoulder blades together.
  • Clasp your hands behind your back, and while keeping your elbows straight, but not locked, pull your shoulders gently backwards.

For the arms:

  • Let your arms uncurl often and hang by your sides. (If you must hold your instrument, do one arm at a time.) While keeping your elbows fairly straight, but not locked, turn your palms outward, with your thumbs pointing away from your body. Moving slowly, reach gently backward.
  • Place your hand palm down on the chair behind you. While keeping your elbow fairly straight, but not locked, lean gently onto your hand, stretching the inner arm. Repeat with the other arm.

For the back, spine, and pelvis:

  • Take a deep breath in and then empty your lungs. Now, contract your abdomen. Imagine pulling your belly button inward. Release.
  • Roll your pelvis forward and back, putting your back into a “C” curve. Momentarily press your lumbar spine backward and then return to neutral. This is a very small movement. Rock from one gluteus to the other, side to side.
  • Squeeze your buttocks and release. This can be done while standing or seated.

For the hips:

  • Keep your feet on the floor and turn one knee inward as you sit, rotating the hip joint. Repeat with the other leg.
  • Adjust the position of your feet often.

For healthy overall circulation:

  • Keep your heels on the floor and lift your toes. Then, keep your toes on the floor and lift your heels. Do circles with your ankles.
  • If you are able to, alternate playing seated and standing. While standing, avoid locking your knees; keep them slightly bent with feet apart. Avoid overarching your back and crouching or slumping forward. Keep your head and torso erect and face forward with shoulders down.

Awareness is the key to injury prevention. These and many more “moves” for musicians are displayed in my book. Make up some of your own as well, with the goal of maintaining fluidity and ease, while avoiding tightness and tension. You’ll feel better and you’ll play better too.

Local 802 Musician Plays 3D Printed Cello

It’s a crazy time we live in with technology pushing boundaries at every corner, and now it’s even capable of printing instruments. Not too long ago a violin was printed and it looks terrifyingly beautiful to say the least with its abstract design.

David Heiss of Local 802 (New York City, NY) was lucky enough to play the world’s first ever printed Cello. It also has a stylish futuristic design and only one string. Not that it holds David Heiss back from seeing what it can do.

You can watch him play the beast below (if the video doesn’t appear click here).